
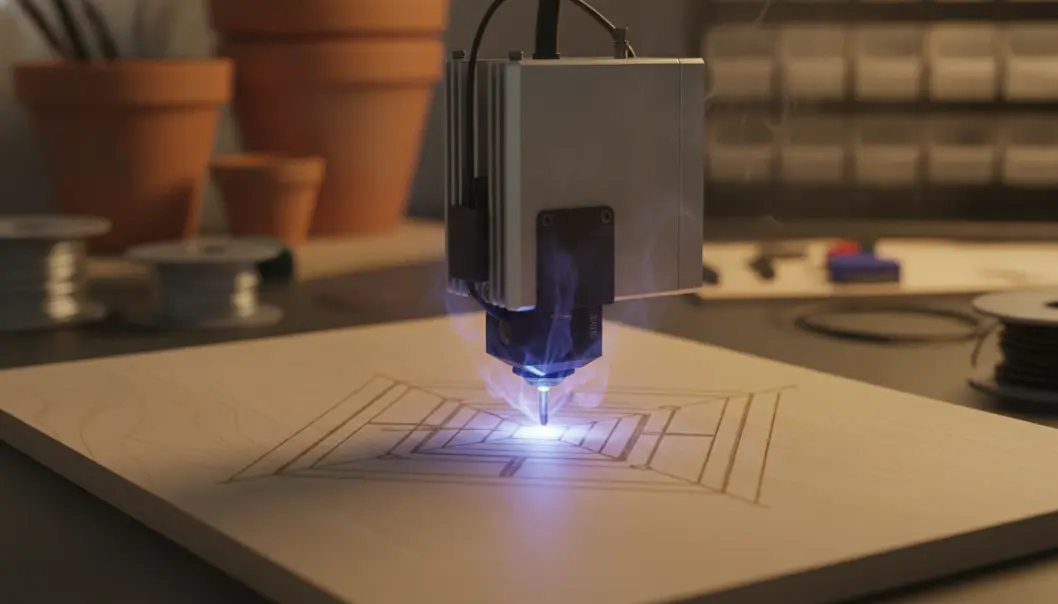
I still remember the first time I walked into a local maker space. The smell of toasted wood hung in the air, and a small machine was zipping back and forth, burning an incredibly detailed portrait into a piece of birch plywood. It felt like magic, to be honest. That was my first introduction to the world of art lasers, and I was instantly hooked! 😊
If you’ve been seeing gorgeous laser-cut jewelry, custom-engraved leather journals, or stunning layered wood art online and thought, “I wish I could do that,” you are in the right place. Today, we are going to dive deep into how you can use lasers to create breathtaking art, breaking down the technical jargon into simple, bite-sized pieces.
The Magic Behind the Beam 🤔
So, what exactly is laser art? At its core, it is the process of using a highly focused beam of light—a laser—to either burn (engrave) or melt and vaporize (cut) materials. Instead of a paintbrush or a chisel, your tool is literal light.
Engraving is like drawing on the surface by burning away a tiny top layer. Cutting goes all the way through the material to create shapes. Most art lasers can do both!
Choosing Your Canvas: Types of Art Lasers 📊
When I first started looking into buying a laser, I was completely overwhelmed by the acronyms. Don’t worry, it’s simpler than it looks. There are mainly three types of lasers used by artists today.
| Laser Type | Best For | Pros | Cons |
|---|---|---|---|
| Diode Laser | Wood, Leather, Paper | Affordable, portable, great for beginners | Slower cutting speeds, struggles with clear acrylic |
| CO2 Laser | Acrylic, Thick Wood, Glass | Fast, powerful, cuts transparent materials perfectly | More expensive, requires water cooling |
| Fiber Laser | Metals, Hard Plastics | Incredible detail on metals, industrial strength | Very high cost, not suitable for wood |
I think diode lasers are the absolute best starting point. They have come so far in recent years and are remarkably affordable. But remember, the material you choose dictates the safety precautions you need to take!
Never, ever cut PVC (Polyvinyl Chloride) or vinyl materials in any laser cutter. It produces toxic chlorine gas that can severely damage your lungs and completely rust the inside of your expensive machine in hours! Always stick to laser-safe materials.
Mastering the Settings: Speed and Power 🧮
If there is one thing I struggled with early on, it was finding the right settings. Think of your laser like an oven. If you want a perfectly toasted piece of bread, you need the right temperature (Power) and the right amount of time in the oven (Speed). Getting this balance wrong was really bad for my early projects—lots of burnt edges!
📝 The Golden Rule of Laser Settings
Deeper Burn = Higher Power + Slower Speed
Lighter Burn = Lower Power + Faster Speed
Let’s try a fun little tool I put together to help you estimate how long a basic solid engraving might take based on your speed settings!
🔢 Engraving Time Estimator
Real-World Example: Creating a Layered Wooden Mandala 📚
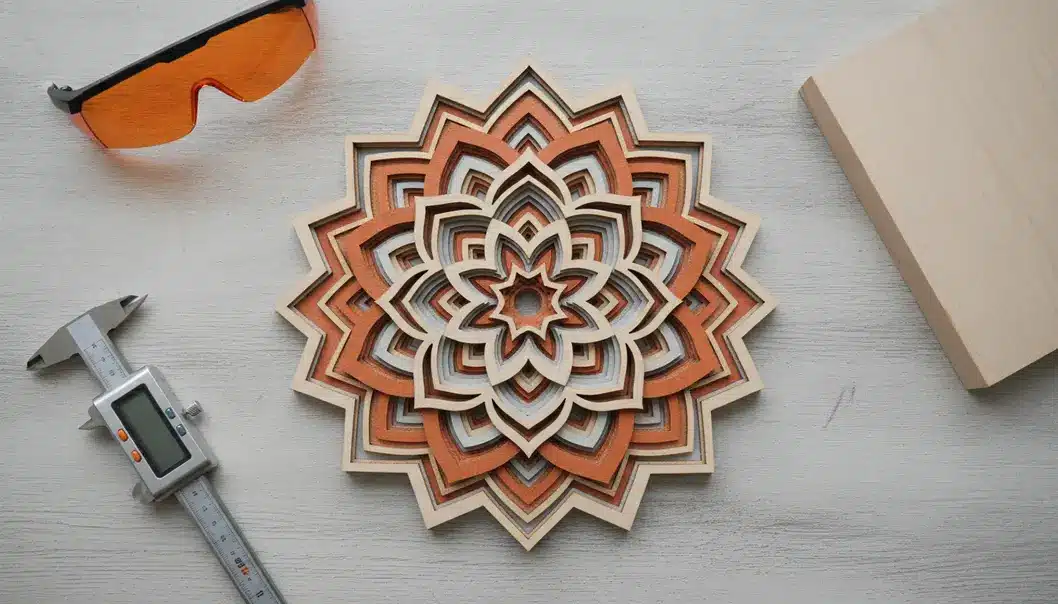
To truly understand the power of an art laser, let’s walk through a project. Last month, I decided to make a 3-layer wooden mandala. It was totally annoying at first because I messed up the alignment, but once I got it right, it was absolutely stunning!
📝 Project Breakdown
- Material: 3mm Basswood Plywood (3 separate sheets).
- Design: A vector file (.SVG) with three distinct patterned layers.
- Process: I set my 10W diode laser to 80% power and 300mm/min speed to ensure a clean cut through the 3mm wood in one pass.
The Final Result
After cutting, I carefully sanded the burn marks off the edges, stained the bottom layer a dark walnut color for contrast, and glued them together. The depth and shadows created by the laser-cut layers gave it a 3D effect that you just can’t get with a regular painting!
📝 Summary
Let’s wrap up everything we’ve learned today so you can start your laser journey with confidence!
- Know your machine: Diodes are great for beginners and wood, while CO2 is best for clear acrylics.
- Safety first: Always vent your fumes outdoors and wear proper laser safety goggles specifically rated for your laser’s wavelength.
- Test your materials: Create a “material test card” to find the perfect speed and power combination.
- Avoid toxic plastics: PVC is a strict no-go. Stick to wood, leather, paper, and safe cast acrylics.
- Patience is key: Laser art takes time, both in designing and burning. Enjoy the slow, mesmerizing process!
Laser Art Masterclass
FAQ ❓
I really hope this guide has illuminated the path for your new laser art journey! Have you already decided what your first project will be? Or do you have more questions? Let me know in the comments below, I’d love to chat. Happy crafting! 😊