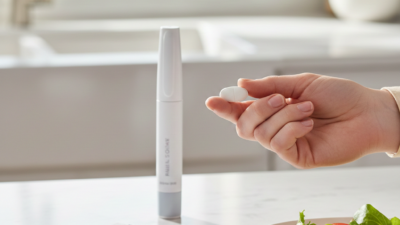
I have a little confession to make. For the longest time, I was terrified of chemical peels. The word “peel” just sounded so harsh, right? I pictured raw, red skin and days of hiding indoors. But then, I stumbled upon a skincare secret that completely changed my perspective: the rose peel. 😊
If you’re dealing with dullness, uneven texture, or just want a gentle refresh, you are going to love this. Let me walk you through why this delicate yet effective treatment has become my absolute holy grail.
Contents
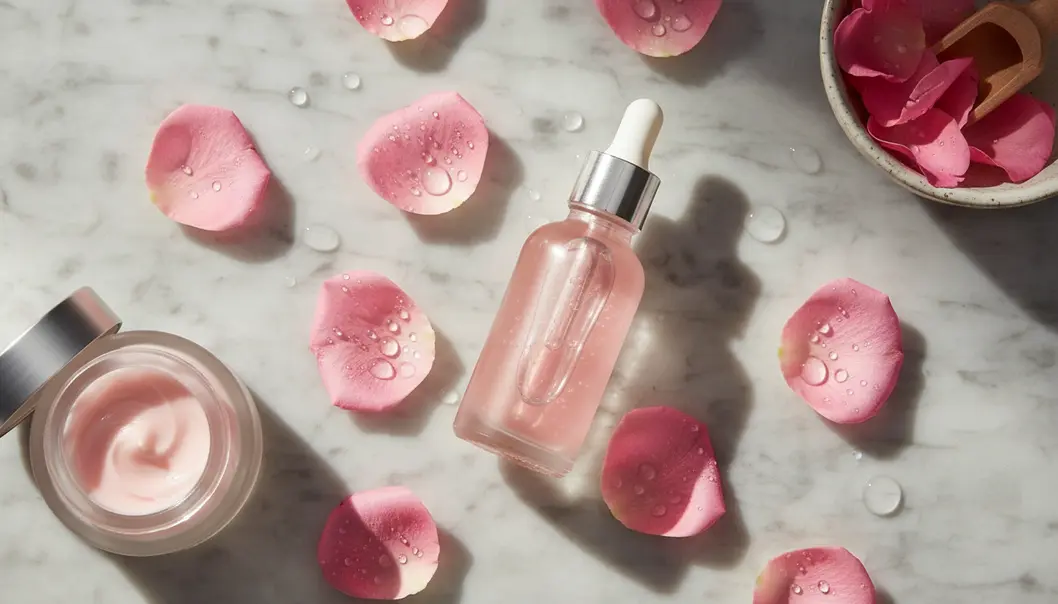
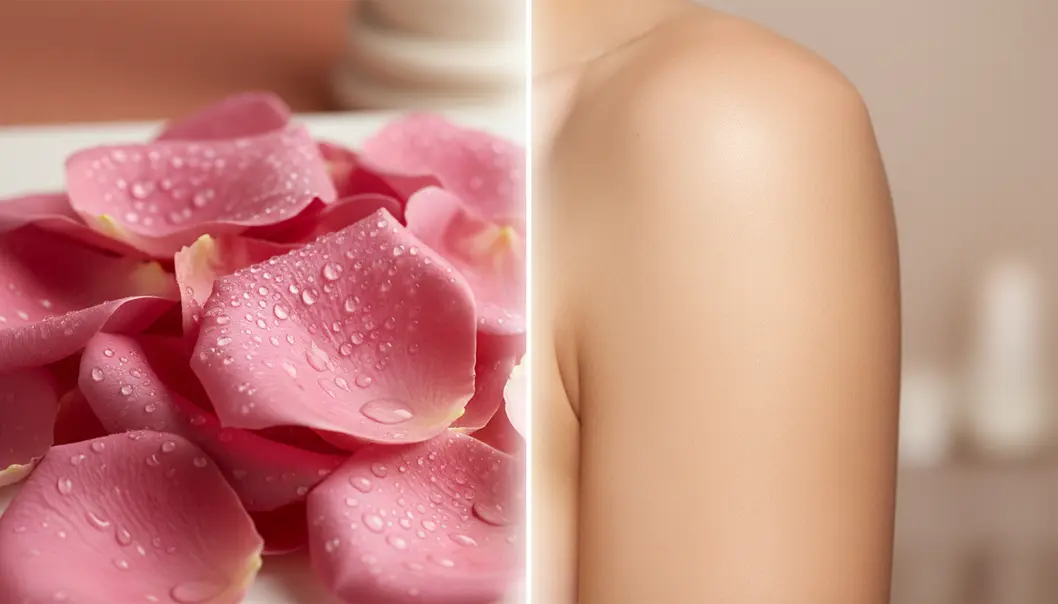
What Exactly is a Rose Peel? 🤔
A rose peel isn’t just your average exfoliating treatment. It is a beautiful hybrid that combines the exfoliating power of gentle acids—like lactic or mandelic acid—with the soothing, hydrating properties of rose water, rose essential oils, or rosehip extracts.
Typically, chemical peels can strip the skin, but the addition of rose extract acts as a built-in buffer. This means you get all the glow-boosting benefits without the dreaded downtime.
Always look for rose peels that list “Rosa Damascena” or “Rosehip Oil” high up on the ingredient list. This ensures you’re getting potent antioxidant benefits!
Key Benefits of the Rose Peel 🌹
So, what makes this treatment stand out from the crowd? Let’s break it down. I honestly think it’s the perfect balance of efficacy and gentleness.
| Benefit | How It Works |
|---|---|
| Gentle Exfoliation | Dissolves dead skin cells smoothly using mild AHAs, revealing fresh skin underneath. |
| Deep Hydration | Rose extracts naturally draw moisture to the skin, preventing post-peel dryness. |
| Anti-Inflammatory | Calms redness and soothes irritated skin, making it great for sensitive skin types. |
| Antioxidant Boost | Packed with Vitamin C (especially from rosehip), it fights free radicals and brightens. |
Even though it is gentle, if you have extremely compromised skin barriers or active rosacea flare-ups, please consult your dermatologist before trying any new peel.
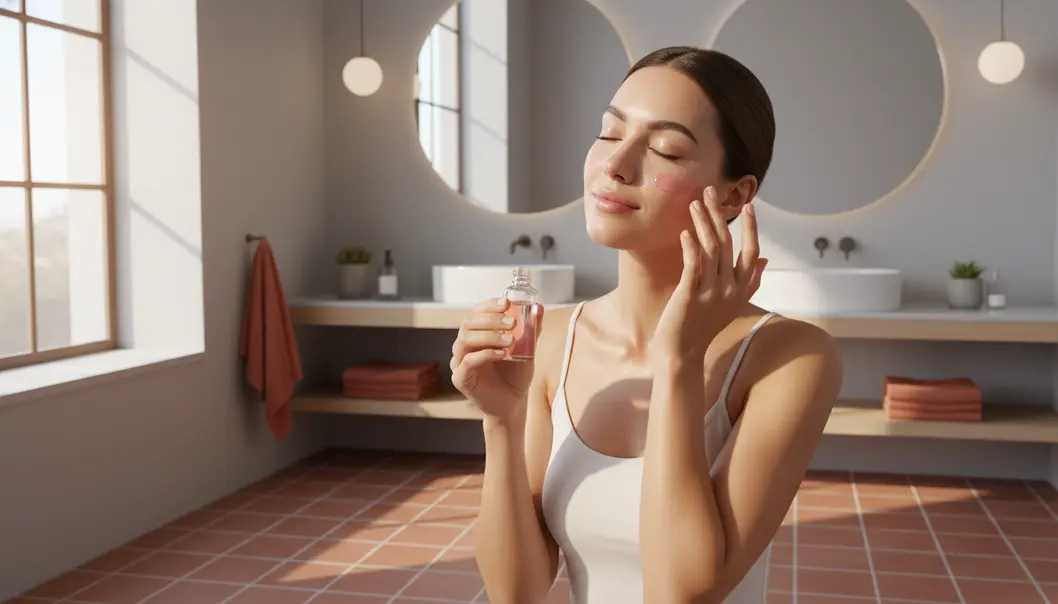
How to Use a Rose Peel at Home 💆♀️
Doing a peel at home might sound intimidating, but I promise you, it’s easier than you think! Here is my foolproof routine to get that spa-like glow right in your bathroom.
- Cleanse: Start with a gentle, non-stripping cleanser. You want a clean canvas!
- Prep: Make sure your skin is completely dry. Water can neutralize some acids or cause them to penetrate unevenly.
- Apply: Apply a thin, even layer of the rose peel. Avoid the delicate eye and lip areas.
- Wait: Follow the product’s instructions exactly! Usually, this is around 5 to 10 minutes. Enjoy the subtle floral scent while you wait. 🥰
- Rinse and Hydrate: Rinse off gently with cool water, and follow up with a rich, soothing moisturizer.
🔢 Peel Frequency Calculator
Not sure how often you should be using your rose peel? Let’s figure it out based on your skin type!
Real-Life Case Study: Sarah’s Journey 📚
To give you a better idea, let’s look at a real-world example. My friend Sarah has incredibly sensitive skin and was struggling with post-acne marks.
Sarah’s Situation
- Skin Type: Highly sensitive, prone to redness.
- Goal: Fade hyperpigmentation without triggering inflammation.
The Routine
She started using a gentle 5% lactic acid rose peel just once every 10 days. Instead of leaving it on for the full 10 minutes, she started with 3 minutes to test her tolerance.
The Result
After 6 weeks, her dark spots had visibly lightened by about 40%, and her skin felt plumper, not tighter! It’s a testament to why the soothing rose element is a game-changer.
📝 Summary
Let’s quickly wrap up what we’ve covered today. If you take away anything from this article, let it be these core points:
Rose Peel Highlights
I honestly can’t recommend incorporating a rose peel into your routine enough. It has truly given my skin that elusive, lit-from-within glow.
FAQ ❓
Have you ever tried a rose peel? Or are you still a bit hesitant? Let me know your thoughts or drop any questions in the comments below! I’d love to chat with you about it. 😊